| Account Operators | TRUE | DC group | The Account Operators group has GenericAll in the default security descriptor on the AD object classes: User, Group, and Computer. That means all objects of these types will be under full control of Account Operators unless they are protected with AdminSDHolder. Not all Tier Zero objects will be protected with AdminSDHolder typically, as not all Tier Zero objects will be included in Protected Accounts and Groups. This means Account Operators members have a path to compromise Tier Zero most often.
It is possible to delete all GenericAll ACEs for Account Operators on Tier Zero objects. To protect future Tier Zero objects, one would have to either remove the Account Operators ACE from the default security descriptors or implement a process of removing the ACEs as Tier Zero objects are being created. However, we recommend not using the group and classifying it as Tier Zero instead. |
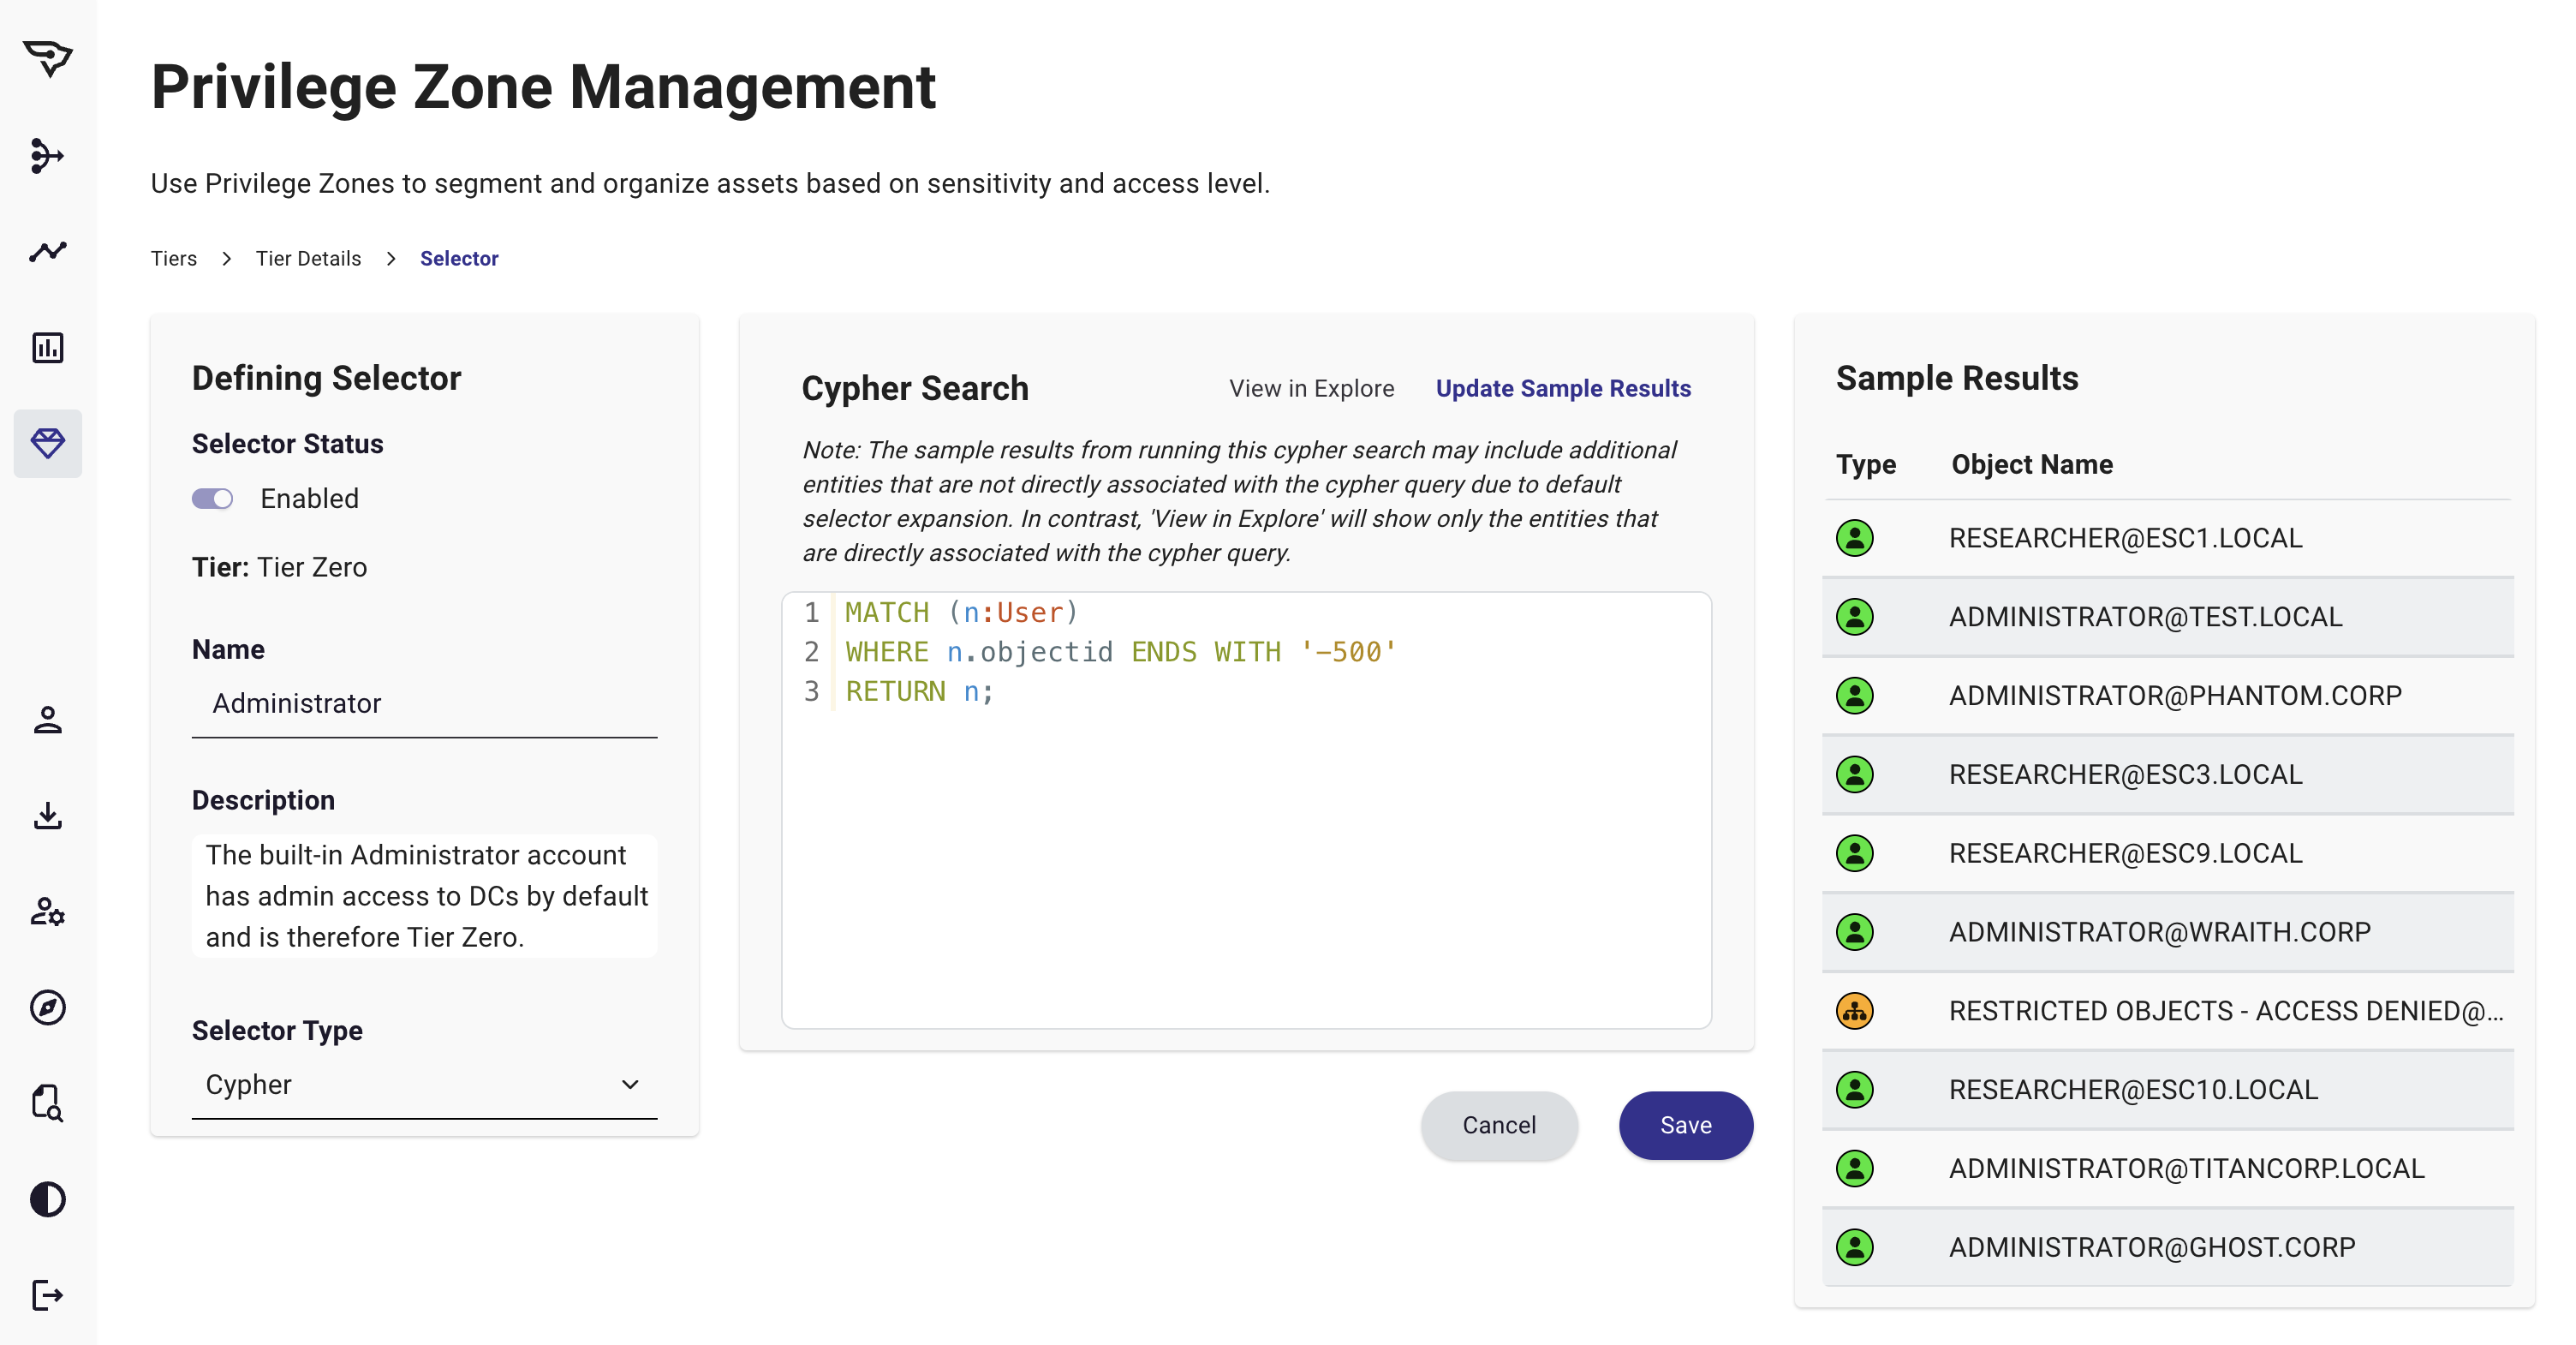
| Administrator | FALSE | AD user | The built-in Administrator account has admin access to DCs by default and is therefore Tier Zero. |
| Administrators | FALSE | DC group | The Administrators group has full control over most of AD’s essential objects and are inarguably part of Tier Zero. |
| AdminSDHolder | FALSE | AD container | The permissions configured on AdminSDHolder is a template that will be applied on Protected Groups and Users with SDProp, by default every hour. Control over AdminSDHolder means you have control over the Protected Groups (and their members) and Users, which include Tier Zero groups such as Domain Admins. The AdminSDHolder container is therefore a Tier Zero object. |
| AIA CA (AD object) | TRUE | AD object | The AIA CA objects may represent offline enterprise CAs or cross CAs. In such cases, deleting the AIA CA object would cause certificates, potentially of Tier Zero principals, to lose trust. We therefore recommend to treat AIACAs as Tier Zero. |
| Application Administrator | TRUE | Entra ID role | The Application Administrator role can control tenant-resident apps. This includes creating new credentials for apps, which can be used to authenticate the tenant as the app’s service principal and abuse the service principal privileges. The role is therefore considered Tier Zero if the tenant contains any Tier Zero service principals. |
| Azure tenant object | FALSE | Entra ID role | An attacker with control of the Tenant Root Object has control of all identities, applications, roles, and devices that reside in that tenant. Further, control of the Tenant Root Object enables an attacker to gain control of all Azure Resource Manager subscriptions that trust the tenant. This object is therefore considered Tier Zero. |
| AZUREADSSOACC object | TRUE | Entra ID role | Microsoft automatically creates the AZUREADSSOACC account when enabling Seamless SSO. When configured for Seamless SSO, this object can modify any synced object within an Azure environment, granting significant control over the organization. |
| Backup Operators | FALSE | DC group | The Backup Operators group has the SeBackupPrivilege and SeRestorePrivilege rights on the domain controllers by default. These privileges allow members to access all files on the domain controllers, regardless of their permission, through backup and restore operations. Additionally, Backup Operators have full remote access to the registry of domain controllers. To compromise the domain, members of Backup Operators can dump the registry hives of a domain controller remotely, extract the domain controller account credentials, and perform a DCSync attack. Alternative ways to compromise the domain exist as well. The group is considered Tier Zero because of these known abuse techniques. |
| Cert Publishers | TRUE | AD group | The Cert Publishers group has full control permissions on root CA and AIA CA objects. This enables an attacker to add or remove certificates for these objects, which are trusted throughout the AD forest. As certificate authentication requires the certificate to chain up to a trusted root CA, an attacker could prevent successful authentication for AD accounts and disrupt Tier Zero operations. The group is therefore Tier Zero.
In some environments, the group also has full control over the NTAuth store. In that scenario, the group can take over the forest by adding a forged root certificate, making it trusted for NTAuth. |
| Certificate template | TRUE | AD object | Control over a certificate template enables the ADCS ESC4 attack and Tier Zero takeover if the template is published to a CA trusted in the NTAuth store and that chains up to a trusted root CA. There are default templates that meet this requirement; others remain unpublished. A template cannot be used if it is not published, making control over an unpublished object less concerning. However, if it is ever published, it becomes a risk. We, therefore, recommend treating all certificate templates as Tier Zero objects, whether published or not. |
| Cryptographic Operators | TRUE | DC group | The Cryptographic Operators group has the local privilege on domain controllers to perform cryptographic operations but no privilege to log in.
There are no known ways to abuse the membership of the group to compromise Tier Zero. The local privilege the group has on the domain controllers is considered security dependencies, and the group is therefore considered Tier Zero. |
| Distributed COM Users | TRUE | DC group | The Distributed COM Users group has local privileges on domain controllers to launch, activate, and use Distributed COM objects but no privilege to log in.
There are no known ways to abuse the membership of the group to compromise Tier Zero. The local privileges the group has on the DCs are considered security dependency, and the group is therefore considered Tier Zero. |
| DNS Admins | TRUE | AD group | DnsAdmins controls DNS which enables an attacker to trick a privileged victim to authenticate against an attacker-controlled host as it was another host. This enables a Kerberos relay attack. Also, control over DNS enables disruption of Tier Zero since Kerberos depends on DNS by default.
The group could previously use a feature in the Microsoft DNS management protocol to make the DNS service load any DLL and thereby obtain a session as SYSTEM on the DNS server. This vulnerability was patched in Dec 2021. |
| Domain Admins | FALSE | AD group | The Domain Admins group has full control over most of AD’s essential objects and are inarguably part of Tier Zero. |
| Domain Controllers | FALSE | AD group | The Domain Controllers group has the GetChangesAll privilege on the domain. This is not enough to perform DCSync, where the GetChanges privilege is also required.
There are no known ways to abuse membership in this group to compromise Tier Zero. However, the GetChangesAll privilege is considered a security dependency that should only be held by Tier Zero principals. Additionally, control over the group allows one to impact the operability of Tier Zero by removing domain controllers from the group, which breaks AD replication. The group is therefore considered Tier Zero. |
| Domain root object | FALSE | AD object | An attacker with control over the domain root object can compromise the domain in multiple ways, for example by a DCSync attack (see reference). The domain root object is therefore Tier Zero. |
| Enterprise Admins | FALSE | AD group | The Enterprise Admins group has full control over most of AD’s essential objects and are inarguably part of Tier Zero. |
| Enterprise CA (AD object) | TRUE | AD object | Control over an enterprise CA object enables an attacker to publish certificate templates. If any templates that allow ADCS domain escalation exist but are unpublished, then control over the enterprise CA object could enable a takeover of Tier Zero. An attacker could potentially also disrupt or takeover Tier Zero by deleting the certificate of the enterprise CA or changing the DNShostName of the enterprise CA to an attacker-controlled host. Enterprise CA objects are therefore Tier Zero.
If the enterprise CA certificate is removed from the NTAuth store, certificates from this CA cannot be used for domain authentication, thus preventing a Tier Zero takeover. |
| Enterprise CA Computers | TRUE | AD computer | Enterprise CAs can by default issue certificates that enable authentication as anyone, thereby allowing takeover of Tier Zero. An attacker with admin rights on an enterprise CA can obtain a certificate as any user in different ways. One option is to dump the private key of the CA and craft a ‘golden certificate’ as a target user. This attack can be prevented by protecting the private key with hardware. Alternatively, the attacker can publish any template, modify pending certificate requests, and issue denied requests, which typically also enable a takeover of Tier Zero. Enterprise CA computer objects are therefore Tier Zero.
If the enterprise CA certificate is removed from the NTAuth store, then certificates from this CA cannot be used for domain authentication, thus preventing a Tier Zero takeover. |
| Enterprise Domain Controllers | FALSE | DC object | There are no known ways to abuse membership in this group to compromise Tier Zero. However, the GetChangesAll privilege is considered a security dependency that should only be held by Tier Zero principals. Additionally, control over the group allows one to impact the operability of Tier Zero by removing domain controllers from the group, which breaks AD replication. The group is therefore considered Tier Zero. |
| Enterprise Key Admins | FALSE | AD group | The Enterprise Key Admins group has write access to the msds-KeyCredentialLink attribute on all users (not protected by AdminSDHolder) and on all computers in the AD forest. This enables the group to compromise all these principals through Shadow Credentials attacks. The group is therefore considered Tier Zero. |
| Exchange Trusted Subsystem | TRUE | AD group | The Exchange Trusted Subsystem group has takeover permissions on all users with the default ACL inheritance enabled from the domain, regardless of the permission model Exchange is configured to. The compromising permission is write access to the AltSecurityIdentities attribute, which allows an attacker to add an explicit mapping for the user for domain authentication. Typically, some Tier Zero users inherit permissions from the domain. The group is therefore Tier Zero.
The group can only be treated as non-Tier Zero if all Tier Zero users are protected from this compromising permission. |
| Exchange Windows Permissions | TRUE | AD group | The Exchange Windows Permissions group has takeover permissions on all users (WriteDACL and reset password) and all groups (edit membership) with the default ACL inheritance enabled from the domain, if Exchange is configured with the default shared permission model or the RBAC split model. Typically, some Tier Zero users and groups inherit permissions from the domain. The group is therefore Tier Zero.
If Exchange is configured in the AD split model, then this group has no compromising permissions and can be treated as non-Tier Zero. |
| Global Administrator | FALSE | Entra ID role | The Global Administrator role is the highest privilege role in Entra ID and inarguably part of Tier Zero. It can do almost anything, and grant permission to do the things it cannot do. |
| Intune Administrator | TRUE | Entra ID role | The Intune Administrator role has permission to execute scripts locally on Entra-managed devices. The role has therefore a potential attack path to Tier Zero through Entra-managed devices used by Tier Zero principals. Furthermore, the Intune Administrator role can manage Conditional Access, which can be abused to lower the security of Tier Zero or prevent the operability of Tier Zero. The role is therefore considered Tier Zero. |
| Key Admins | FALSE | AD group | The Key Admins group has write access to the msds-KeyCredentialLink attribute on all users (not protected by AdminSDHolder) and on all computers in the AD domain. This enables the group to compromise all these principals through Shadow Credentials attacks. The group is therefore considered Tier Zero. |
| Knowledge Administrator | TRUE | Entra ID role | The Knowledge Administrator role can control non-role-assignable groups. If any non-role-assignable group has compromising permissions over a Tier Zero asset (e.g. Contributor on a domain controller Azure VM), then the Knowledge Administrator role can add arbitrary principals to the given group and compromise Tier Zero. If no non-role-assignable group has compromising permissions over a Tier Zero asset, then there is no attack path to Tier Zero from the Knowledge Administrator role. It therefore depends on the usage of non-role-assignable groups whether the role should be considered Tier Zero. |
| KRBTGT objects | TRUE | AD user | The krbtgt’s credentials allow one to create golden ticket and compromise the domain. Therefore, if you obtain the credentials of this account, then you can authenticate as any Tier Zero user. However, there is currently no known privilege on the object to obtain the Kerberos keys or to compromise the account in any other way. When you reset the password of krbtgt, AD will ignore your password input and use a random string instead. So, the reset password privilege does not work for a compromise. An attacker could use the reset password privilege to harm Tier Zero, as a double password reset causes all Kerberos TGTs in the domain to become invalid. So, since control over the account can harm Tier Zero, and there is no reason for delegating control to non-Tier Zero, the krbtgt is Tier Zero. |
| NTAuth store | TRUE | AD object | The NTAuth store is a security dependency for Tier Zero. A certificate that impersonates any user in AD must chain up to a trusted root CA and be issued by a CA trusted by the NTAuth store. With control over a root CA and the NTAuth store, an attacker can make an attacker-controlled root CA certificate meet these requirements and issue certificates as anyone, taking over Tier Zero. Control over the NTAuth store alone may be sufficient to disrupt Tier Zero operations, as the attacker can delete CA certificates that Tier Zero principals or systems rely on for authentication. The NTAuth store is therefore Tier Zero. |
| Partner Tier2 Support | FALSE | Entra ID role | The Partner Tier2 Support role can reset the password for any principal, including principals with the Global Administrator role. The role is therefore considered Tier Zero. |
| Performance Log Users | TRUE | DC group | The Performance Log Users group has local privileges on domain controllers to launch, activate, and use Distributed COM objects but no privilege to log in.
There are no known ways to abuse the membership of the group to compromise Tier Zero. The local privileges the group has on the DCs are considered security dependency, and the group is therefore considered Tier Zero. |
| Print Operators | TRUE | DC group | The Print Operators group has the local privilege on the domain controllers to load device drivers and can log on locally on domain controllers by default.
It is feasible to remove the logon privilege from the group on the domain controllers, such that the group has no known abusable path to Tier Zero. However, the local privilege to load device drivers is considered a security dependency for the domain controllers, and the group is therefore considered Tier Zero. |
| Privileged Authentication Administrator | FALSE | Entra ID role | The Privileged Authentication Administrator role can set or reset any authentication method (including passwords) for any principal, including principals with the Global Administrator role. The role is therefore considered Tier Zero. |
| Privileged Role Administrator | FALSE | Entra ID role | The Privileged Role Administrator role can grant any other admin role to any principal at the tenant level. The role is therefore considered Tier Zero. |
| Read-Only Domain Controllers | TRUE | AD computer | An attacker with control over a RODC computer object can compromise Tier Zero principals. The attacker can modify the msDS-RevealOnDemandGroup and msDS-NeverRevealGroup attributes of the RODC computer object such that the RODC can retrieve the credentials of a targeted Tier Zero principal. The attacker can obtain admin access to the OS of the RODC through the managedBy attribute, from where they can obtain the credentials of the RODC krbtgt account. With that, the attacker can create a RODC golden ticket for the target principal. This ticket can be converted to a real golden ticket as the target has been added to the msDS-RevealOnDemandGroup attribute and is not protected by the msDS-NeverRevealGroup attribute. Therefore, the RODC computer object is Tier Zero. |
| Root CA object | TRUE | AD object | A root CA is a security dependency for Tier Zero. A certificate that impersonates any user in AD must chain up to a trusted root CA and be issued by a CA trusted by the NTAuth store. With control over a root CA and the NTAuth store, an attacker can make an attacker-controlled root CA certificate meet these requirements and issue certificates as anyone, taking over Tier Zero. Control over a root CA alone may be sufficient to disrupt Tier Zero operations, as the attacker can delete root CA certificates that Tier Zero principals or systems rely on for authentication. Root CA objects are therefore Tier Zero. |
| Schema Admins | FALSE | AD group | The Schema Admins group has full control over the AD schema. This allows the group members to create or modify ACEs for future AD objects. An attacker could grant full control to a compromised principal on any object type and wait for the next Tier Zero asset to be created, to then have a path to Tier Zero. This attack could be remediated by removing any unwanted ACEs on objects before they are promoted to Tier Zero, but we recommend considering the group as Tier Zero instead. |
| Security Administrator | TRUE | Entra ID role | The Security Administrator role has access to Live Response API (if not disabled) with permission to execute scripts locally on Entra-managed devices. The role has therefore a potential attack path to Tier Zero through Entra-managed devices used by Tier Zero principals. Furthermore, the Security Administrator role can manage Conditional Access, which can be abused to lower the security of Tier Zero or prevent the operability of Tier Zero. The role is therefore considered Tier Zero. |
| Server Operators | TRUE | DC group | The Server Operators group has local privileges on the domain controllers and perform administrative operations as creating backups of all files. The group can log on locally on domain controllers by default.
It is feasible to remove the logon privilege from the group on the domain controllers, such that the group has no known abusable path to Tier Zero. However, the local privileges are considered security dependencies for the domain controllers, and the groups are therefore considered Tier Zero. |