> ## Documentation Index
> Fetch the complete documentation index at: https://specterops-feat-poc-api-playground.mintlify.site/llms.txt
> Use this file to discover all available pages before exploring further.
# Run an On Demand Scan
 ## Purpose
This article outlines how to run an On Demand Scan to perform a one-time immediate data collection with a collector client. BHE administrators may use it during collector client deployment, one-time collections, or troubleshooting.
## Prerequisites
* Creation of one SharpHound Enterprise client, see [Create a SharpHound Enterprise collector client](/collect-data/enterprise-collection/create-collector)
* Logged in as a user role which is authorized to run an On Demand Scan, see [User Role Definitions](/manage-bloodhound/auth/users-and-roles)
## Process
1. In the top right, click settings ⚙️ → **Administration**
## Purpose
This article outlines how to run an On Demand Scan to perform a one-time immediate data collection with a collector client. BHE administrators may use it during collector client deployment, one-time collections, or troubleshooting.
## Prerequisites
* Creation of one SharpHound Enterprise client, see [Create a SharpHound Enterprise collector client](/collect-data/enterprise-collection/create-collector)
* Logged in as a user role which is authorized to run an On Demand Scan, see [User Role Definitions](/manage-bloodhound/auth/users-and-roles)
## Process
1. In the top right, click settings ⚙️ → **Administration**
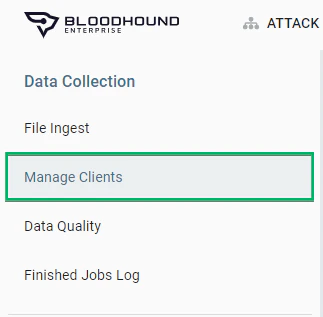
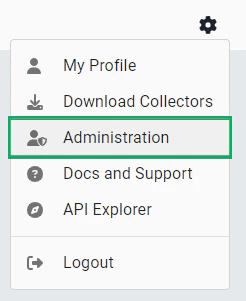 2. In the top left side, click **Manage Clients**
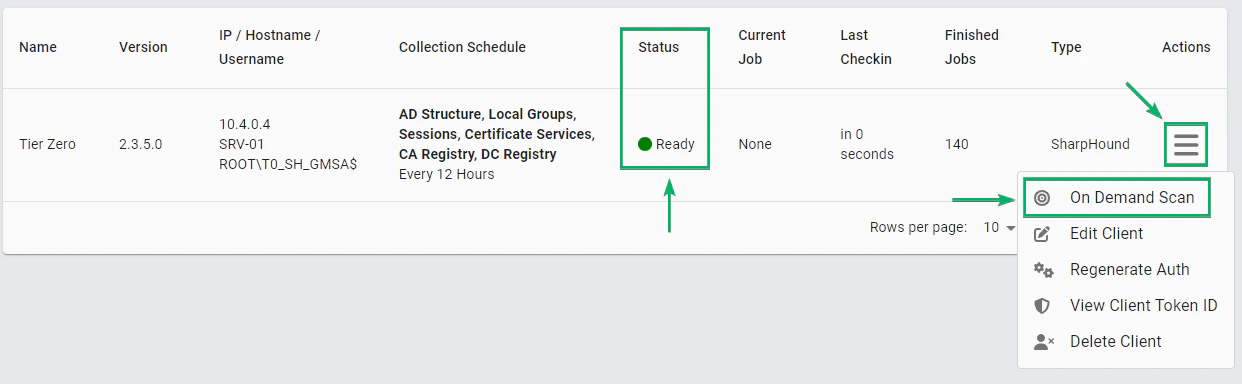
 3. On the client, click the burger menu and select **On Demand Scan**
* Tip: Verify the client is online by validating **Status** is **Ready**
3. On the client, click the burger menu and select **On Demand Scan**
* Tip: Verify the client is online by validating **Status** is **Ready**
 4. In the *On Demand Scan* window, configure the scan:
1. **Data**: The type of data the schedule collects, see [SharpHound Data Collection and Permissions](/collect-data/permissions)
2. **Advanced Options**: See the [Scanning section in the article SharpHound Enterprise Tenant Configuration](/install-data-collector/install-sharphound/tenant-configuration)
4. In the *On Demand Scan* window, configure the scan:
1. **Data**: The type of data the schedule collects, see [SharpHound Data Collection and Permissions](/collect-data/permissions)
2. **Advanced Options**: See the [Scanning section in the article SharpHound Enterprise Tenant Configuration](/install-data-collector/install-sharphound/tenant-configuration)
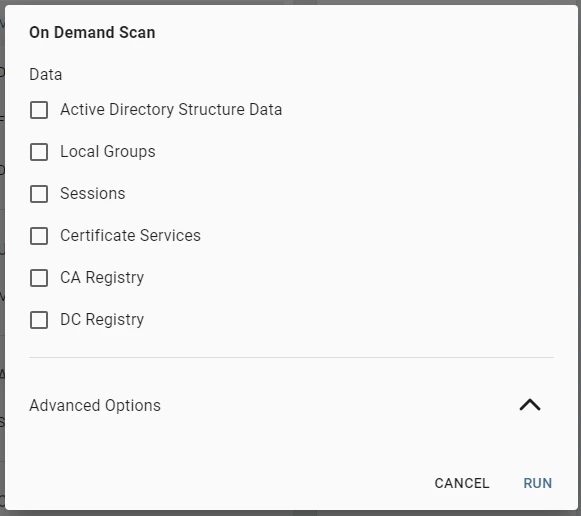 5. Start the scan by clicking **Run**
## Outcome
The client will start the On Demand Scan after the next client check-in, usually within one minute.
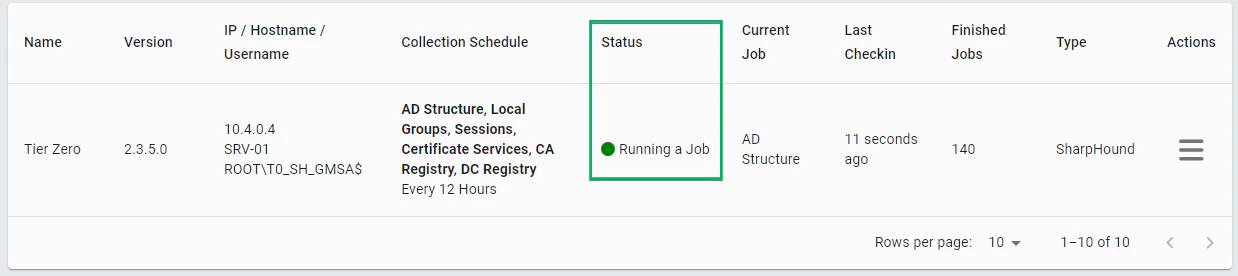
Once started, the client's **Status** will show **Running a Job**:
5. Start the scan by clicking **Run**
## Outcome
The client will start the On Demand Scan after the next client check-in, usually within one minute.
Once started, the client's **Status** will show **Running a Job**:
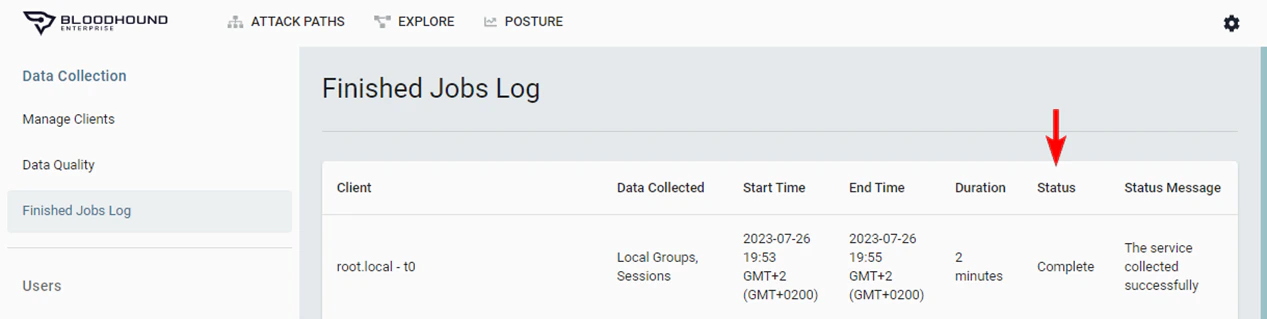
 After completion, see the job's status in the *Finished Jobs Log* by clicking ⚙️ → **Administration**, and in the top left side, click **Finished Jobs** **Log**\_. \_The columns **Status** and **Status Message** report on the job's completion.